Handle checkout success
Redirect to a success page or create custom logic that runs when checkout completes. Then, provision your app.
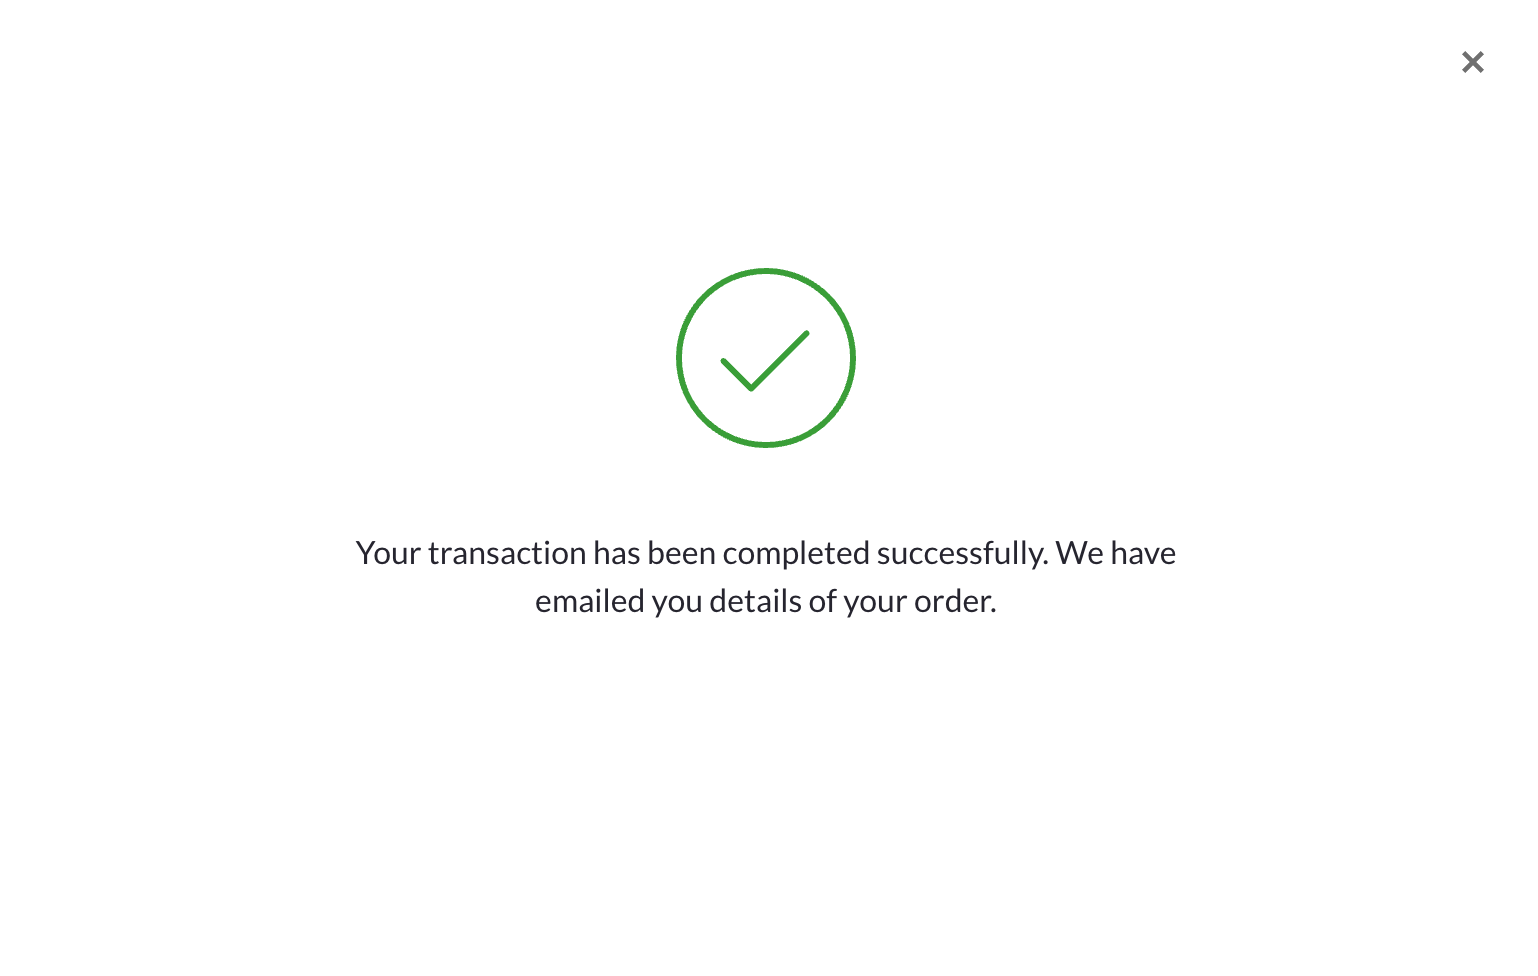
Paddle Checkout includes a final screen that lets customers know their purchase was successful. You can redirect to your own page or build a more advanced success workflow using Paddle.js.

How it works
When a customer successfully pays for items on a checkout, Paddle Checkout lets them know that their purchase was successful and sends an email with details of the order.
If you like, you can redirect to your own success page when checkout completes successfully. You might like to include tips and tricks for getting started, or point customers towards a complementary addon like training or implementation.
For more advanced success workflows, you can pass an eventCallback for checkout.completed to Paddle.Initialize(). This lets you run your own JavaScript function when checkout completes. You might use this as part of an inline checkout workflow to redirect to a new page or change elements on the checkout page to show order information.
If a checkout is for recurring products, Paddle automatically creates a new subscription for the customer for the items that they purchased. You should provision your app at this point to make sure the customer can access the products they paid for.
Before you begin
You'll need to include Paddle.js on your page and pass a client-side token.
To open a checkout, you'll need to create products and prices and pass them to a checkout.
To get a step-by-step overview of how to build a complete checkout, including passing checkout settings and prefilling properties, see Build an overlay checkout or build an inline checkout
Redirect to a success page
You can redirect customers to your own success page by passing a property to a checkout when opening it.
Use the data-success-url HTML data attribute on your checkout launcher element, or pass settings.successUrl to the Paddle.Checkout.open() or Paddle.Initialize() methods do this.
This example sets the redirect page to https://paddle.com/thankyou using data-success-url.
12345678910111213141516171819201<a
2  href='#'
3  class='paddle_button'
4  data-display-mode='overlay'
5  data-theme='light'
6  data-locale='en'
7  data-success-url='https://paddle.com/thankyou'
8  data-items='[
9    {
10      "priceId": "pri_01gs59hve0hrz6nyybj56z04eq",
11      "quantity": 1
12    },
13    {
14      "priceId": "pri_01gs59p7rcxmzab2dm3gfqq00a",
15      "quantity": 1
16    }
17  ]'
18>
19  Buy Now
20</a>
To learn more, see HTML data attribute
Write an event callback
Paddle.js emits events for key actions as a customer moves through checkout. It emits a checkout.completed event when a customer successfully pays for items on a checkout.
You can pass an eventCallback to Paddle.Initialize() to call a function when checkout.completed is emitted.
This example logs the checkout.completed event emitted by Paddle.js to console.
123456781Paddle.Initialize({
2  token: 'live_7d279f61a3499fed520f7cd8c08', // replace with a client-side token
3  eventCallback: function(data) {
4    if (data.name == "checkout.completed") {
5      console.log(data);
6    }
7  }
8});
Provision your app
When a customer completes checkout for recurring items, Paddle automatically creates a related subscription.
At this point, you should provision your app. Provisioning is how you grant customers access to your app, as well as determining which features they should have access to.
To learn more, see Handle provisioning and fulfillment