This tutorial walks through deploying the Paddle Next.js SaaS starter kit to Vercel, hooking it up to your Paddle account, and taking a test payment. By the end, you'll have a working three-tier subscription app integrated with Supabase for auth and Paddle webhooks for syncing customer data.
For a quick overview of what's in the kit before you dive in, see the Next.js starter kit reference.
Check out the live demo of the starter kit to explore how it works

By the end of this tutorial you'll have:
- Set up Paddle Billing in sandbox.
- Created a notification destination for syncing data.
- Created products and prices for a SaaS app.
- Deployed a Next.js app to Vercel.
- Taken a test payment.
- Learned how to transition from sandbox to live.
Before you begin
Sign up for Paddle
Paddle is a complete merchant-of-record platform for modern software businesses. Our API-first platform takes care of payments, localization, and subscription management for you.
Sign up for a sandbox account for this tutorial at sandbox-login.paddle.com/signup. You can transition to a live account later when you're ready to sell.
Live accounts require account verification before you can launch a checkout or sell on the Paddle platform.
Sign up for Vercel and Supabase
- Vercel hosts and deploys web apps using serverless infrastructure, designed for Next.js.
- Supabase provides databases, authentication, and other backend features. The starter kit uses Supabase for user management and for syncing customer data with Paddle via webhooks.
You'll also need a Git provider to store your code. Vercel's deploy flow walks you through setting up an account with GitHub (recommended), GitLab, or Bitbucket.
Set up your local environment
To work on the starter kit locally, you'll need an IDE like Visual Studio Code plus:
You don't need a local environment to get a working demo on Vercel — come back to this later when you're ready to start building.
Overview
Create and deploy a Next.js app integrated with Paddle Billing in four steps:
- Start deploy to Vercel
Clone the repo, integrate with Supabase, configure Paddle variables, and deploy. - Set up your catalog
Create products and prices in Paddle, then update your app to use them. - Add your website and test
Add your website to Paddle and take a test payment. - Build your app, then transition to live
Build on top of the starter kit, then switch to a live account.
Start deploy to Vercel
Deploy the starter kit to Vercel to create a project ready to configure:
Deploy Paddle.js SaaS starter kit to Vercel
Create Git repo
First, create a clone of the starter kit repo. This creates a copy of the code in a repo under your Git provider, so you can build your app on top of the project.
Click Continue with GitHub, Continue with GitLab, or Continue with Bitbucket to connect your Git provider to Vercel, then enter a name for your repo.
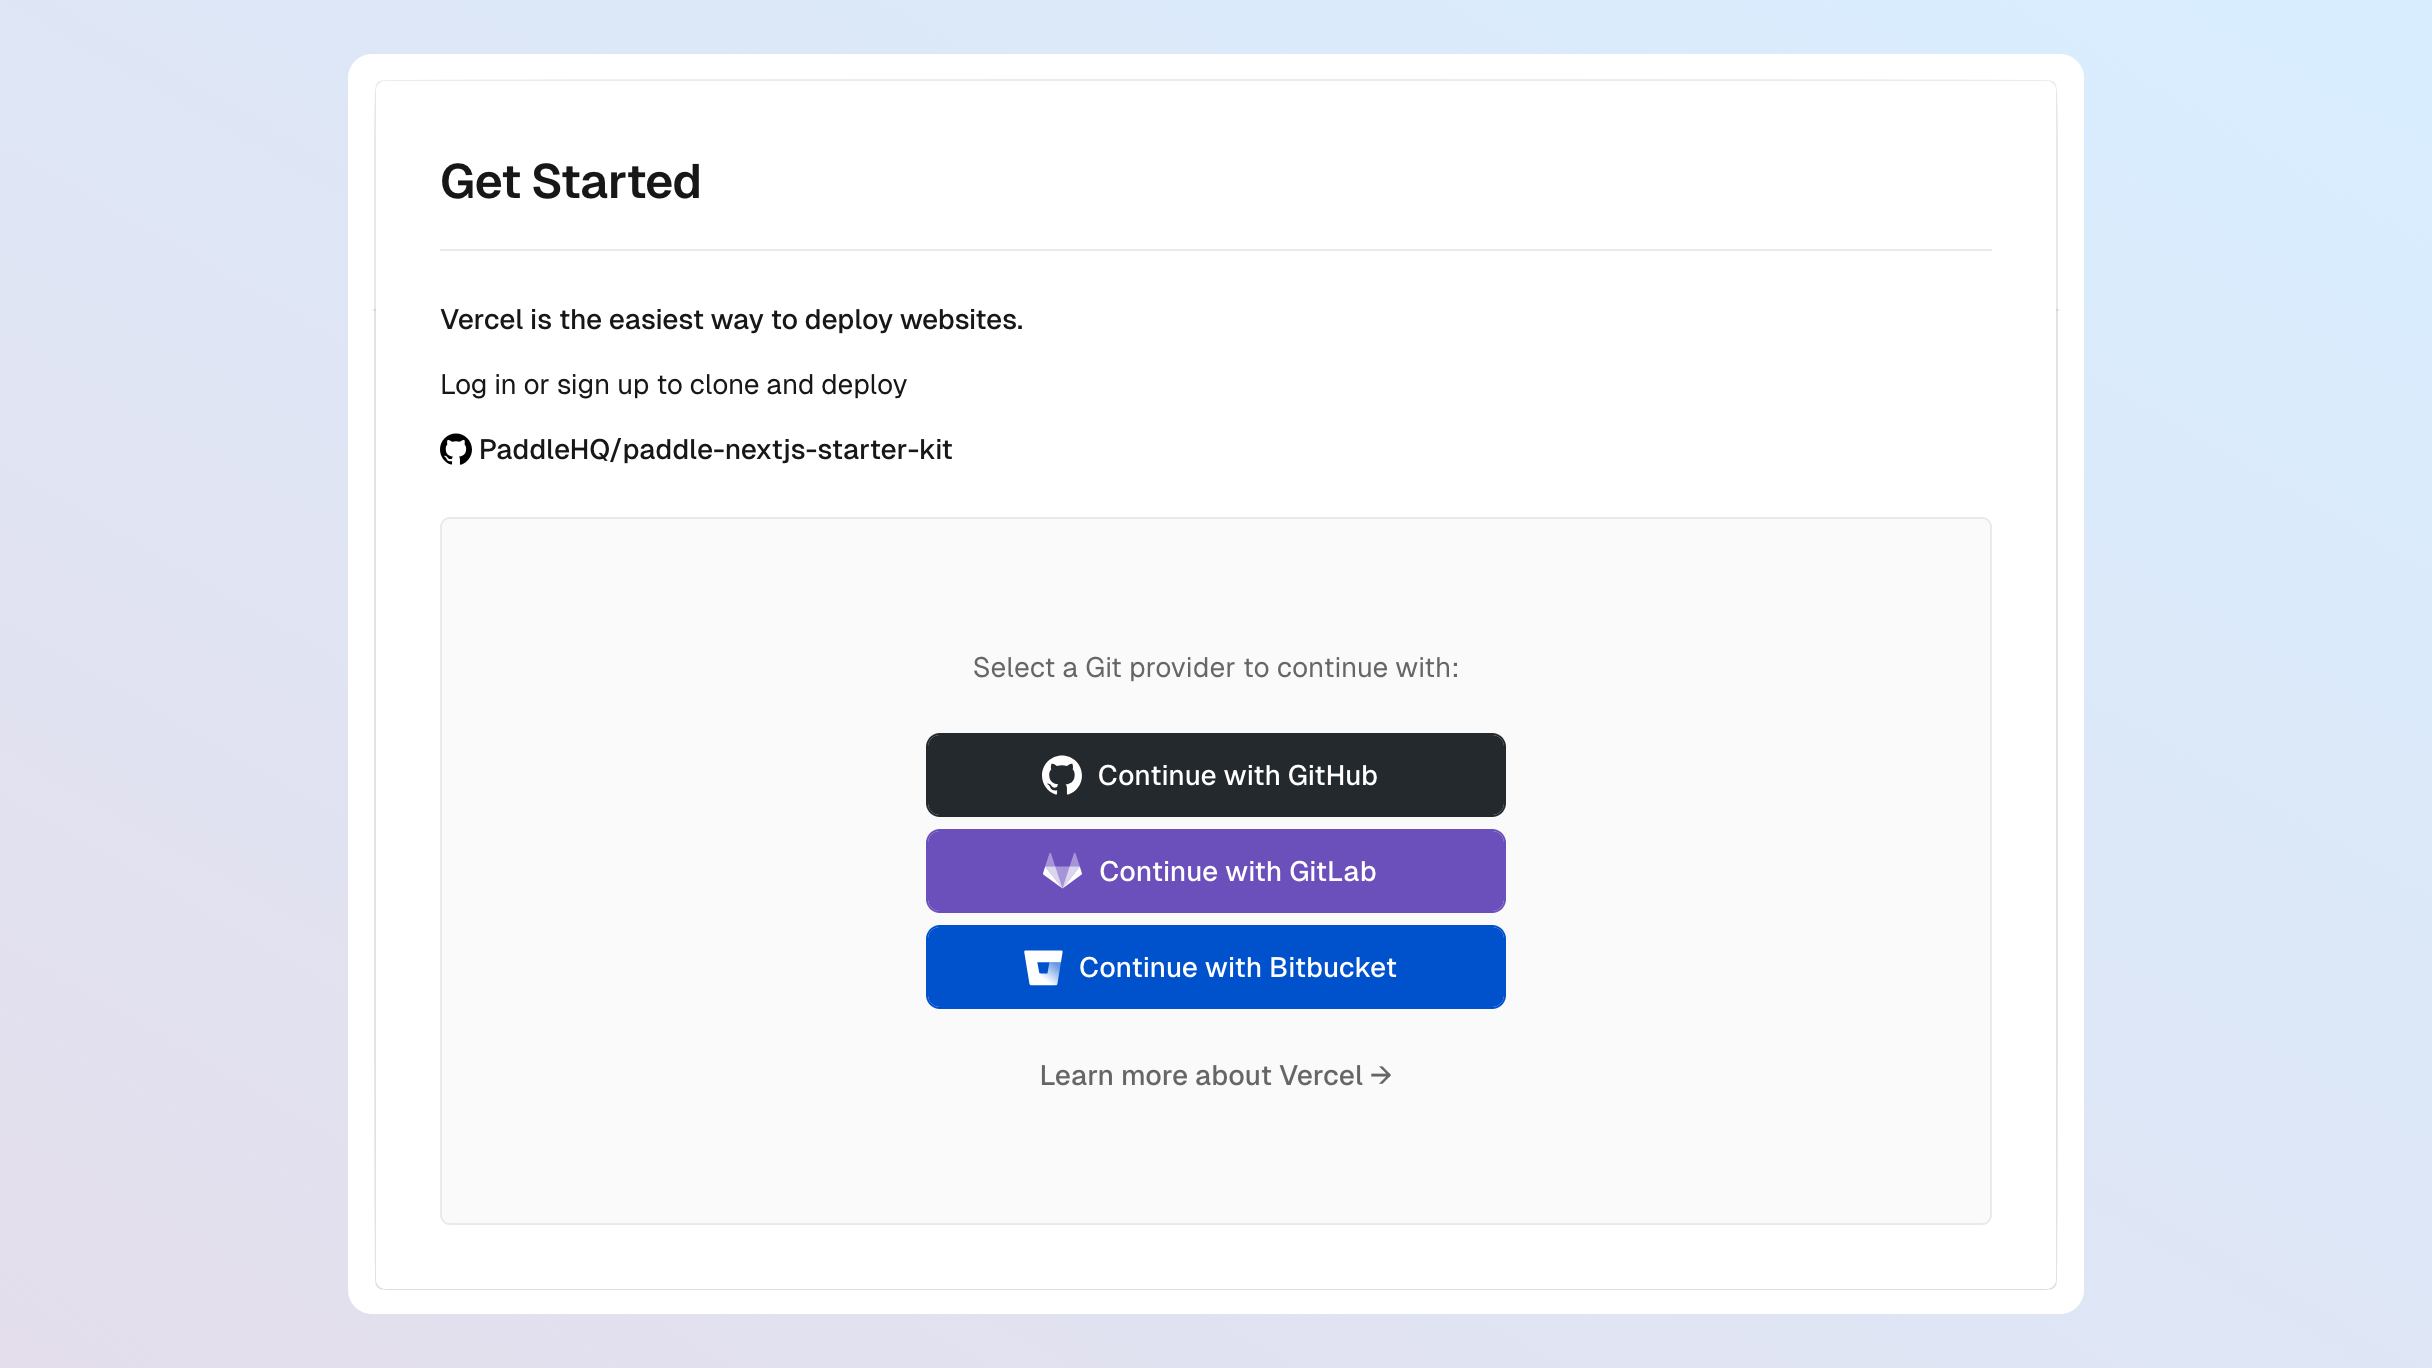
The repo name becomes the name of your project in Vercel and is used for deploy preview URLs. If the name is taken, Vercel appends characters to your project name when creating the URL.
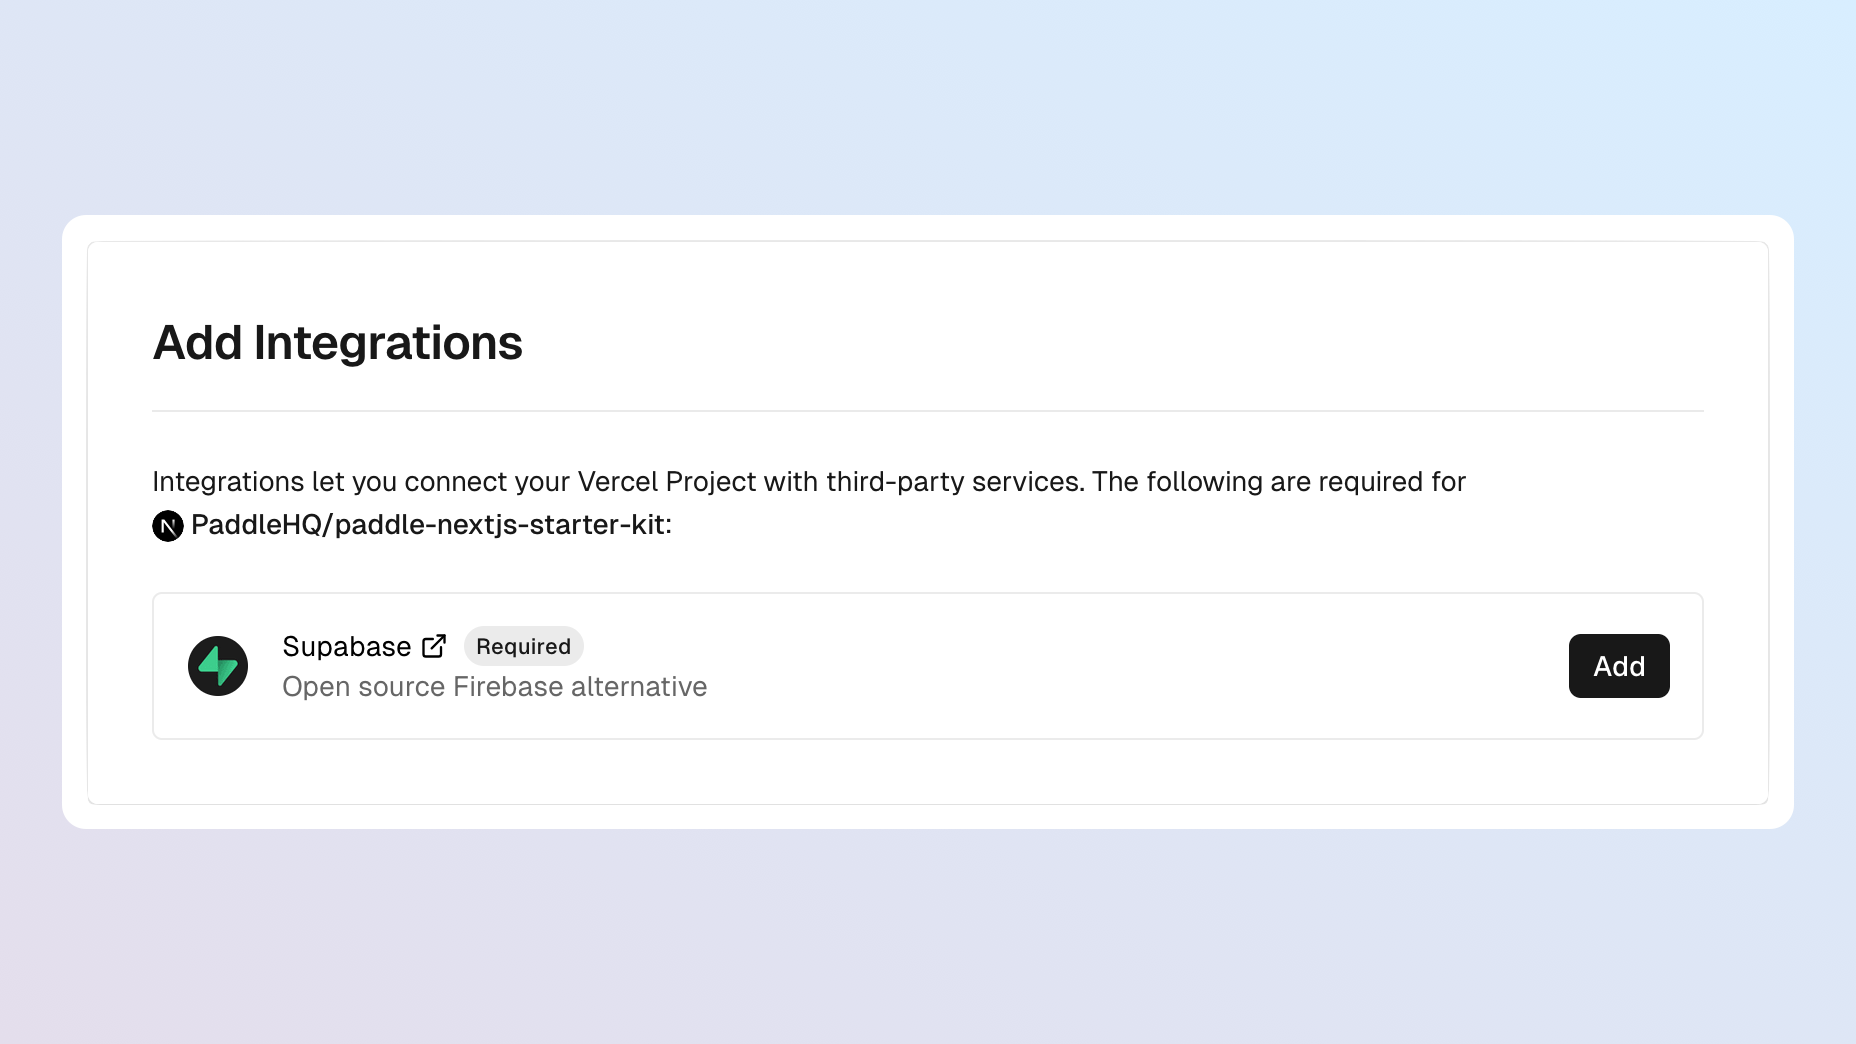
Integrate with Supabase
Next, click Add to walk through integrating with Supabase.
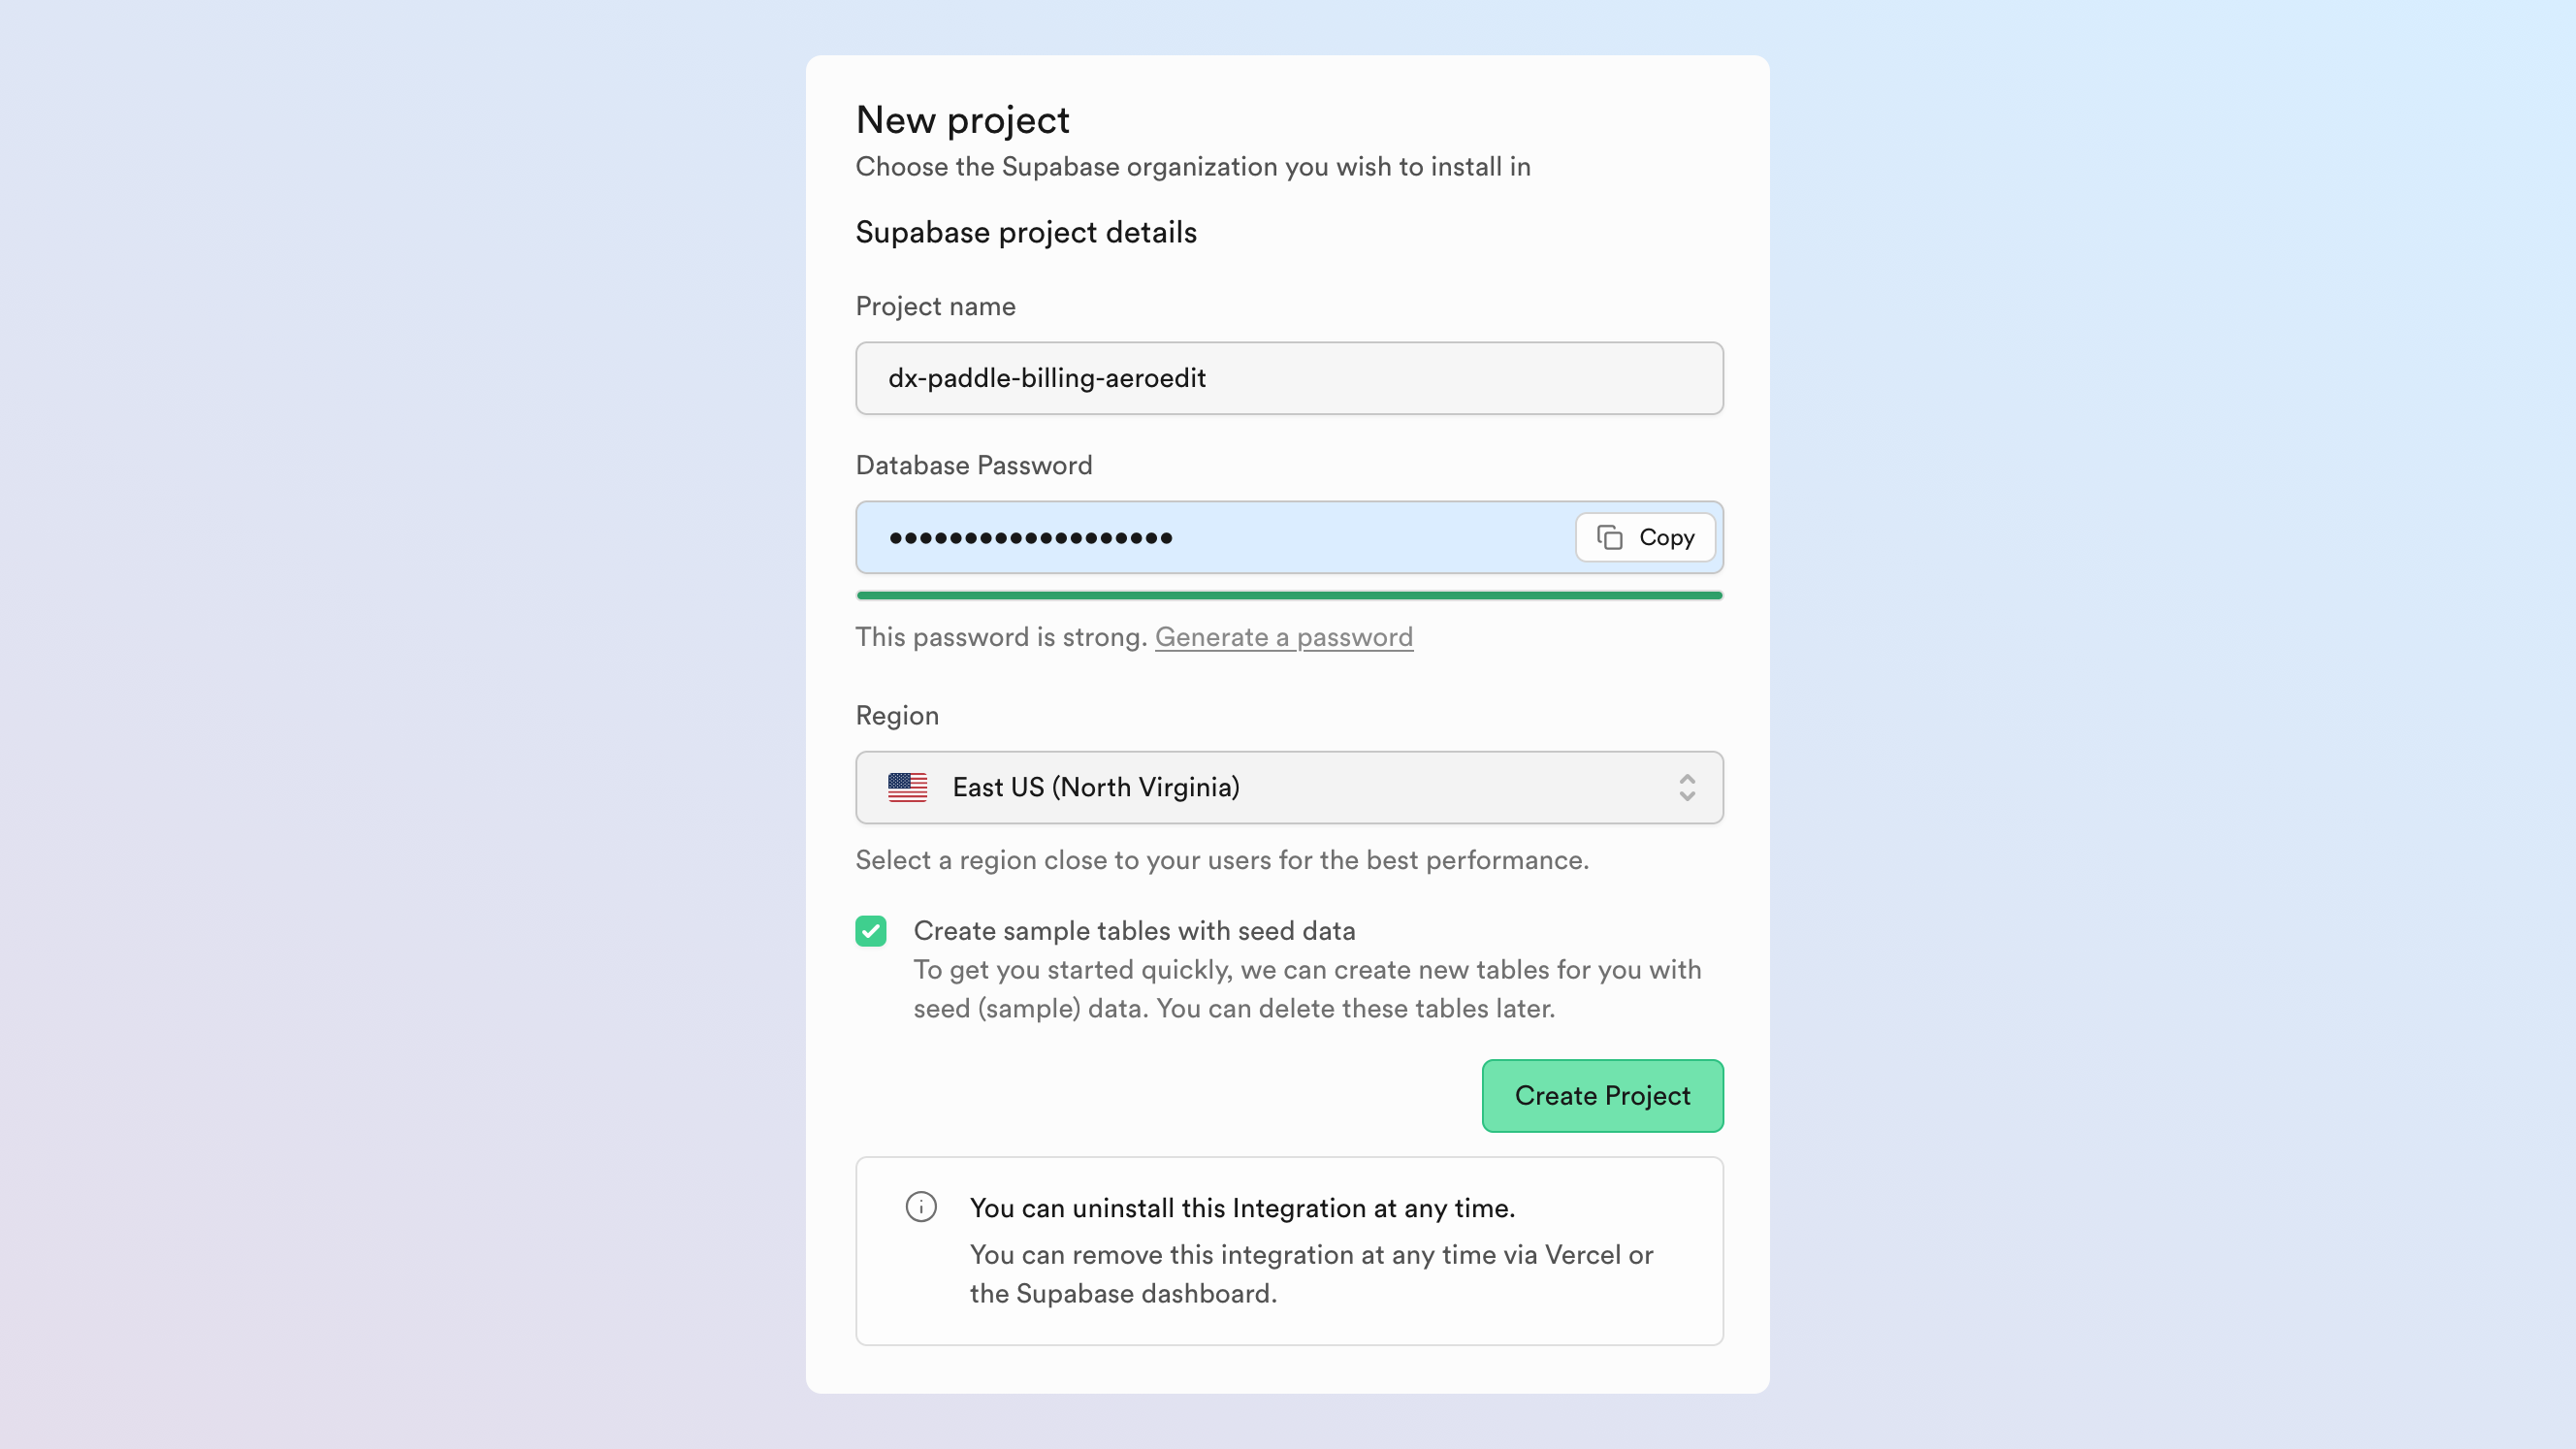
Give your project any name. We recommend using a password manager to generate and store a secure password.
Make sure Create sample tables with seed data is checked. This creates tables in Supabase to store customer and subscription data for the app.
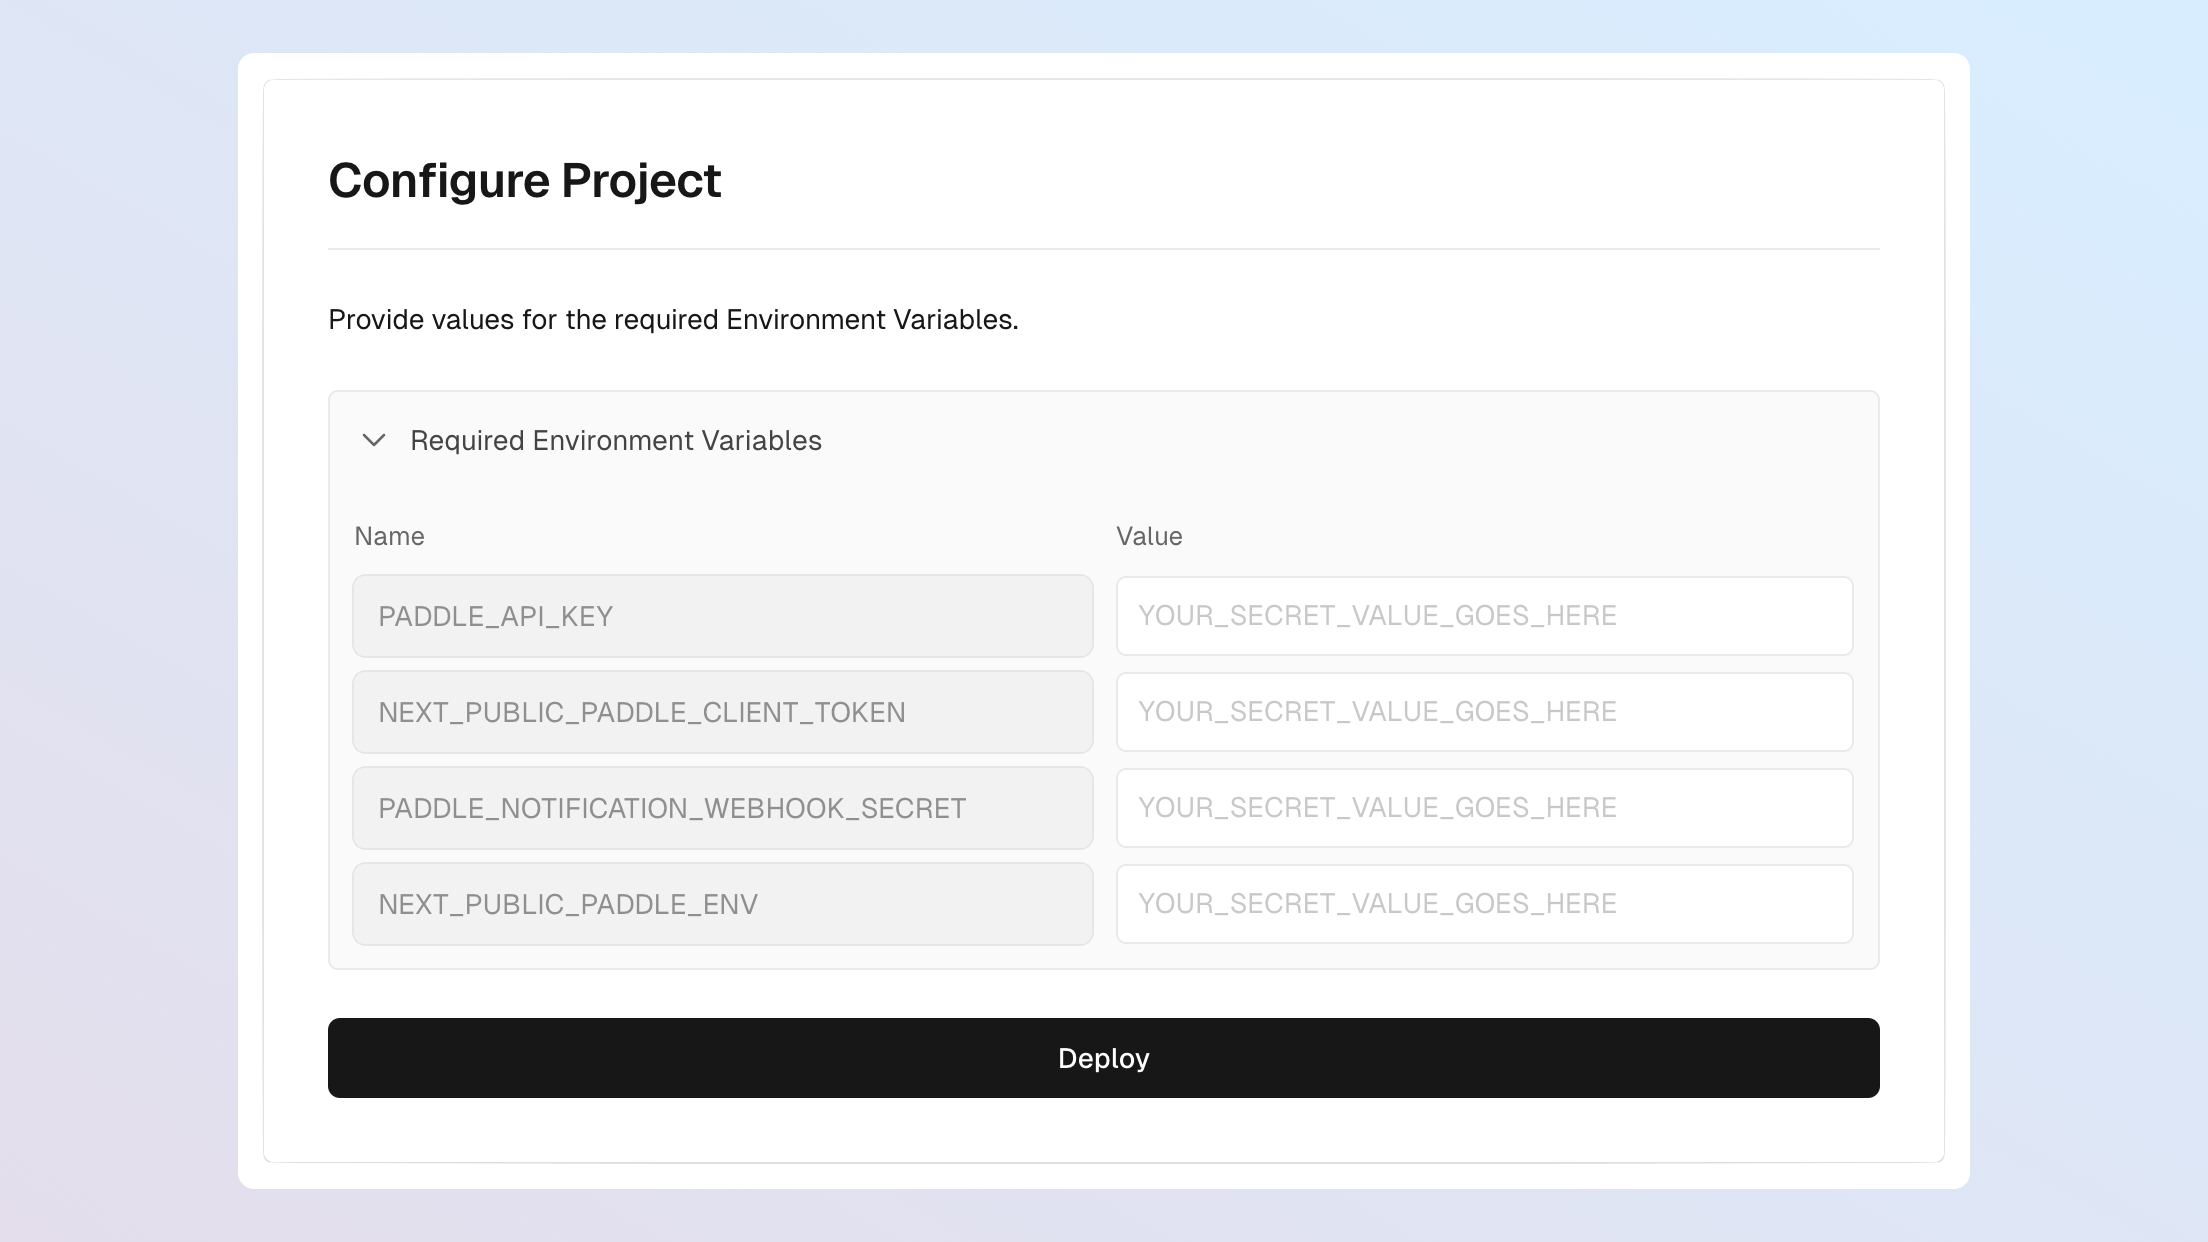
Configure Paddle variables
Supply variables so the app can interact with your Paddle account.
| Variable | Purpose |
|---|---|
PADDLE_API_KEY | API key for backend interaction — syncing customer and subscription data with Supabase. |
NEXT_PUBLIC_PADDLE_CLIENT_TOKEN | Client-side token for frontend interaction — localized prices and opening checkouts. |
PADDLE_NOTIFICATION_WEBHOOK_SECRET | Secret key for verifying that webhooks came from Paddle and haven't been tampered with. |
NEXT_PUBLIC_PADDLE_ENV | sandbox for sandbox accounts; production for live accounts. |
Get an API key and client-side token
Client-side tokens and API keys are used for authentication. Even if you already have them, create new ones for this app.
API keys need permissions to perform actions. For this app, you need Subscription: Write to read and cancel subscriptions, and Transaction: Read to access transactions.
- Go to Paddle > Developer tools > Authentication.
- Click New API key .
- Fill in the details, then select the Subscription: Write permission.
- Click Save , then Copy key .
- Paste your key as
PADDLE_API_KEYon the Vercel deploy screen. - On the authentication screen in Paddle, click the Client-side tokens tab.
- Click New client-side token .
- Give the token a name and description.
- Click Save , then Copy key .
- Paste the token as
NEXT_PUBLIC_PADDLE_CLIENT_TOKEN.


As you extend your app, your API key may need more permissions. You can edit the API key to add them.
Treat your API key like a password. Keep it safe and never share it with apps or people you don't trust.
Create a webhook destination
Paddle sends webhooks when something important happens in your account — a customer is updated, a new subscription is created, and so on. The starter kit uses webhooks to keep the app in sync with Paddle.
- Go to Paddle > Developer tools > Notifications.
- Click New destination .
- Give the destination a name.
- Keep notification type as webhook (the default).
- Enter
https://<PROJECTNAME>.vercel.app/api/webhookas the URL, replacing<PROJECTNAME>with your Vercel project name. - Check Select all events.
- Click Save destination .
- From the destinations list, click next to your destination, then Edit destination .
- Copy the secret key and paste it as
PADDLE_NOTIFICATION_WEBHOOK_SECRET.


See create a notification destination for more.
Set your environment
For NEXT_PUBLIC_PADDLE_ENV:
sandboxfor a sandbox account.productionfor a live account.
We recommend sandbox for this tutorial. Live accounts must be approved by Paddle before you can open checkouts.
Review and deploy
Review your settings, then click Deploy. Wait for Vercel to build.
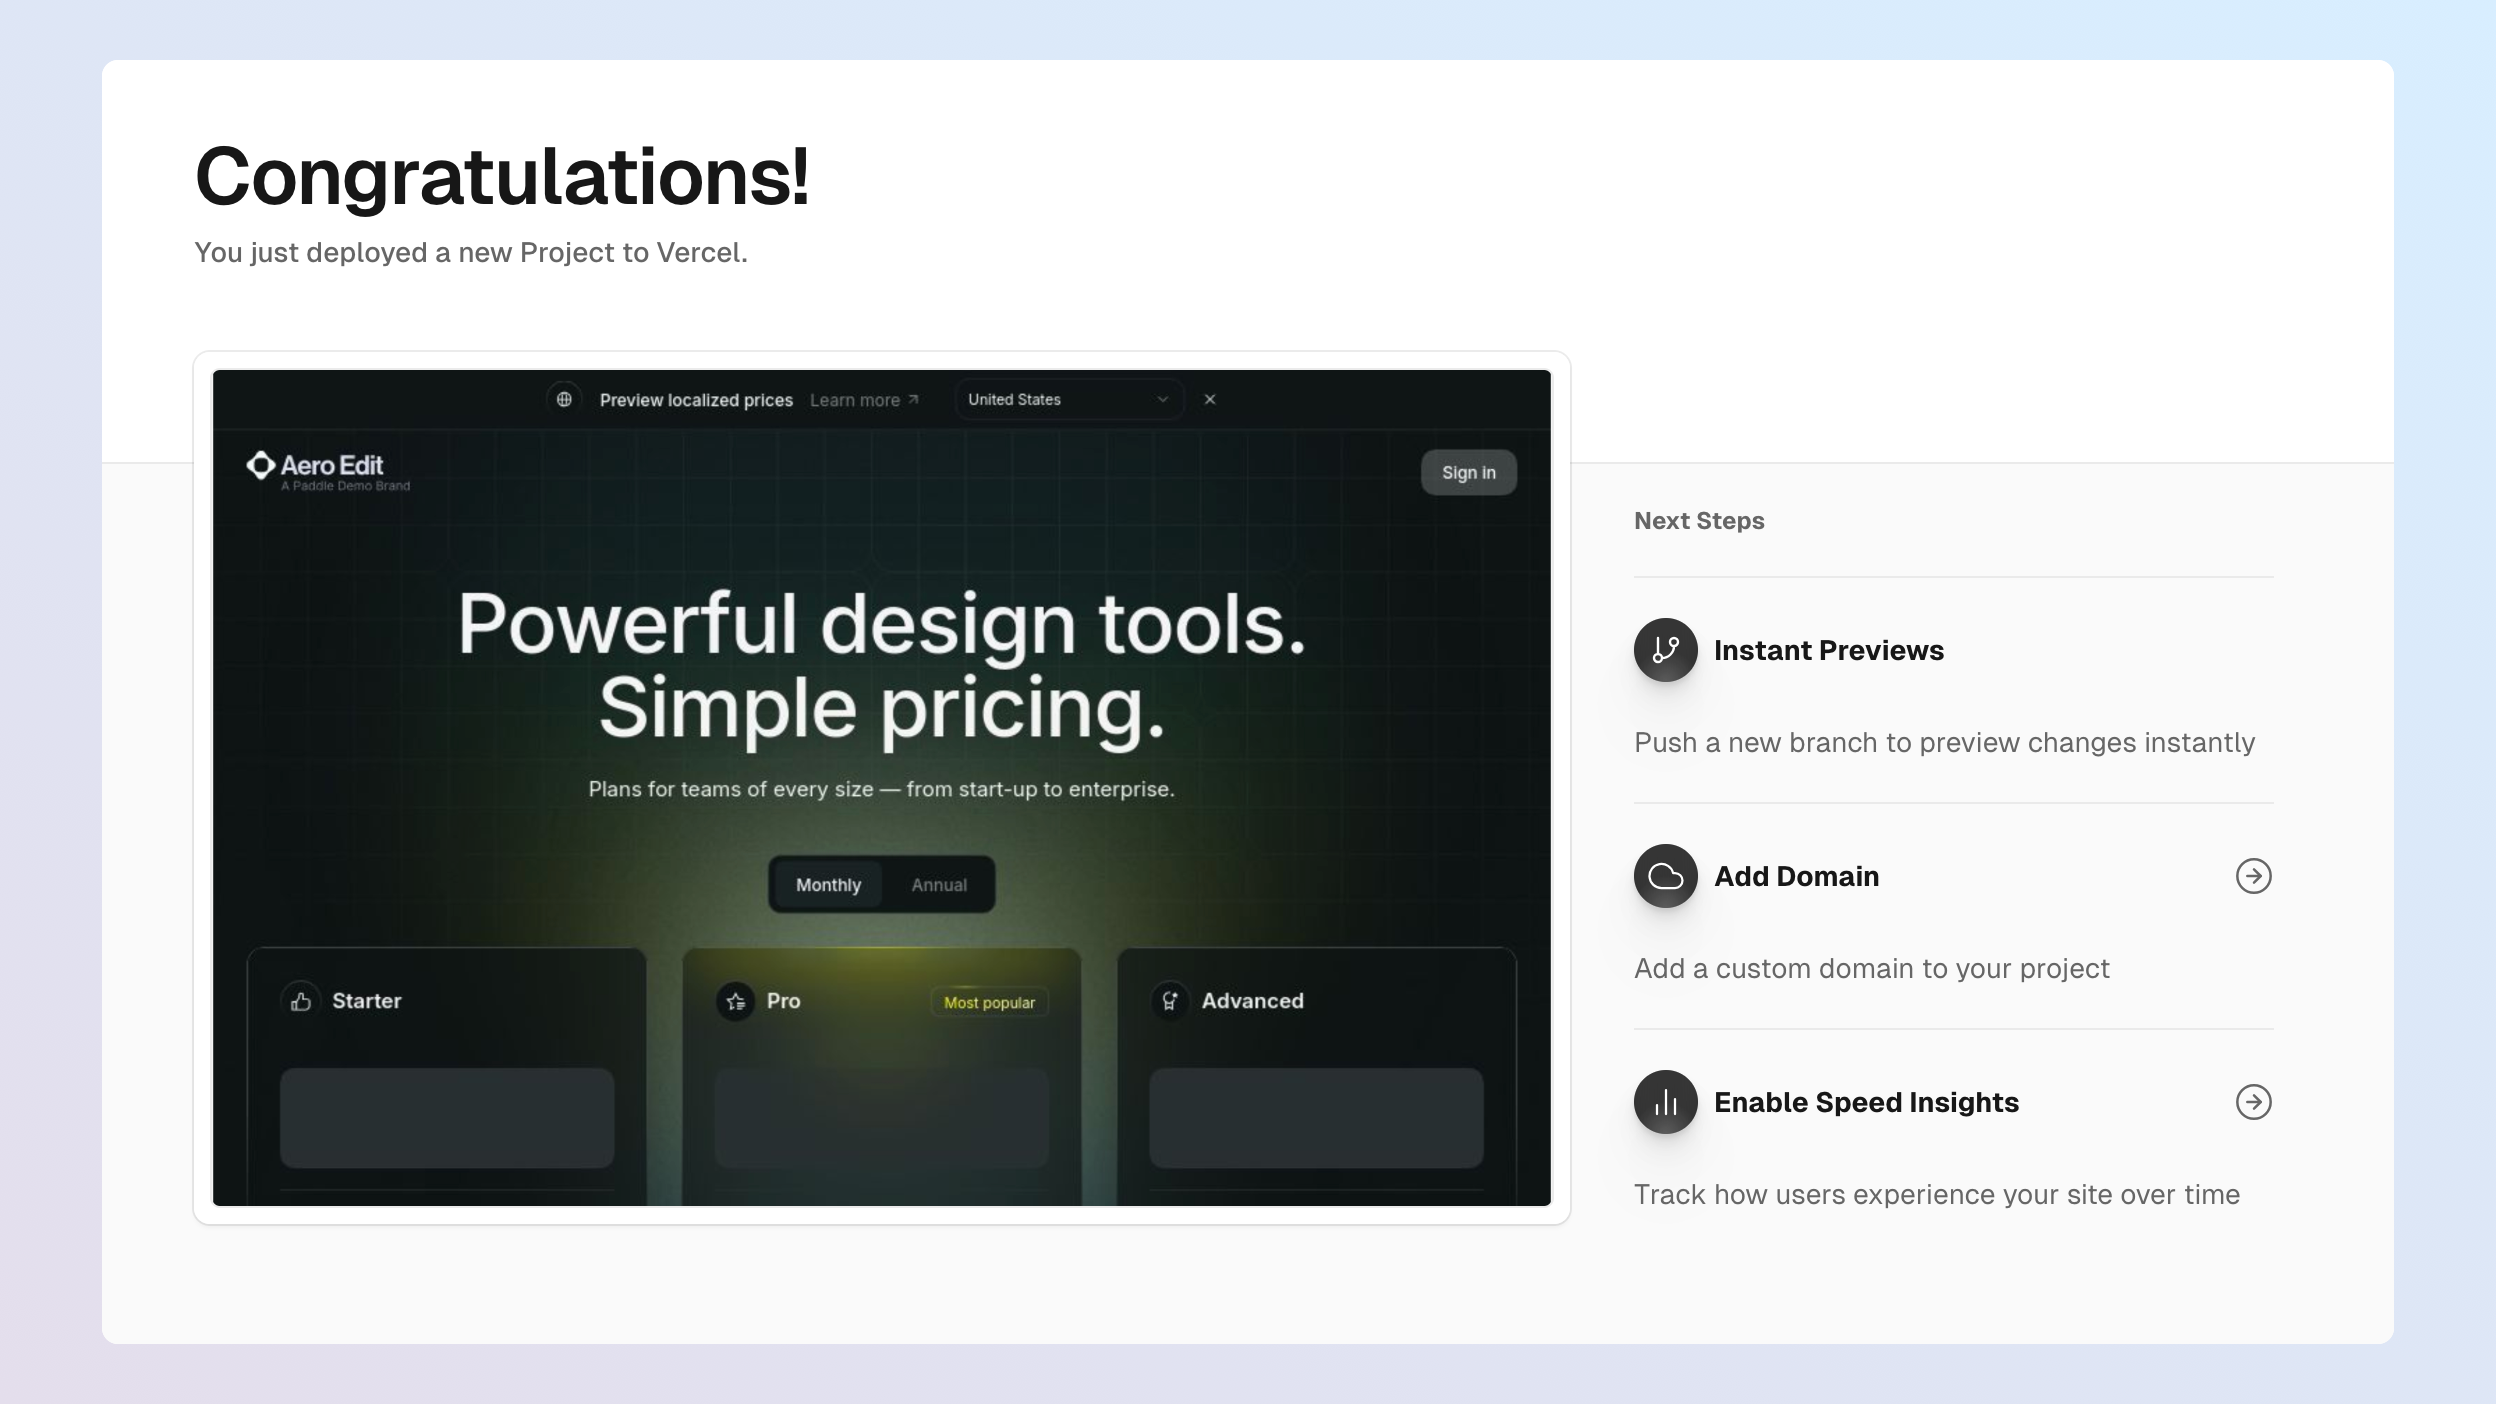
Your deploy preview won't work end-to-end yet — the pricing page doesn't display prices and the get-started buttons don't open checkouts. You'll fix these in the next step.
Set up your product catalog
Specify how products in your app map to products in Paddle.
Model your pricing
A product in Paddle has:
- A product entity describing the item — name, description, image.
- At least one related price entity describing how much and how often it's billed.
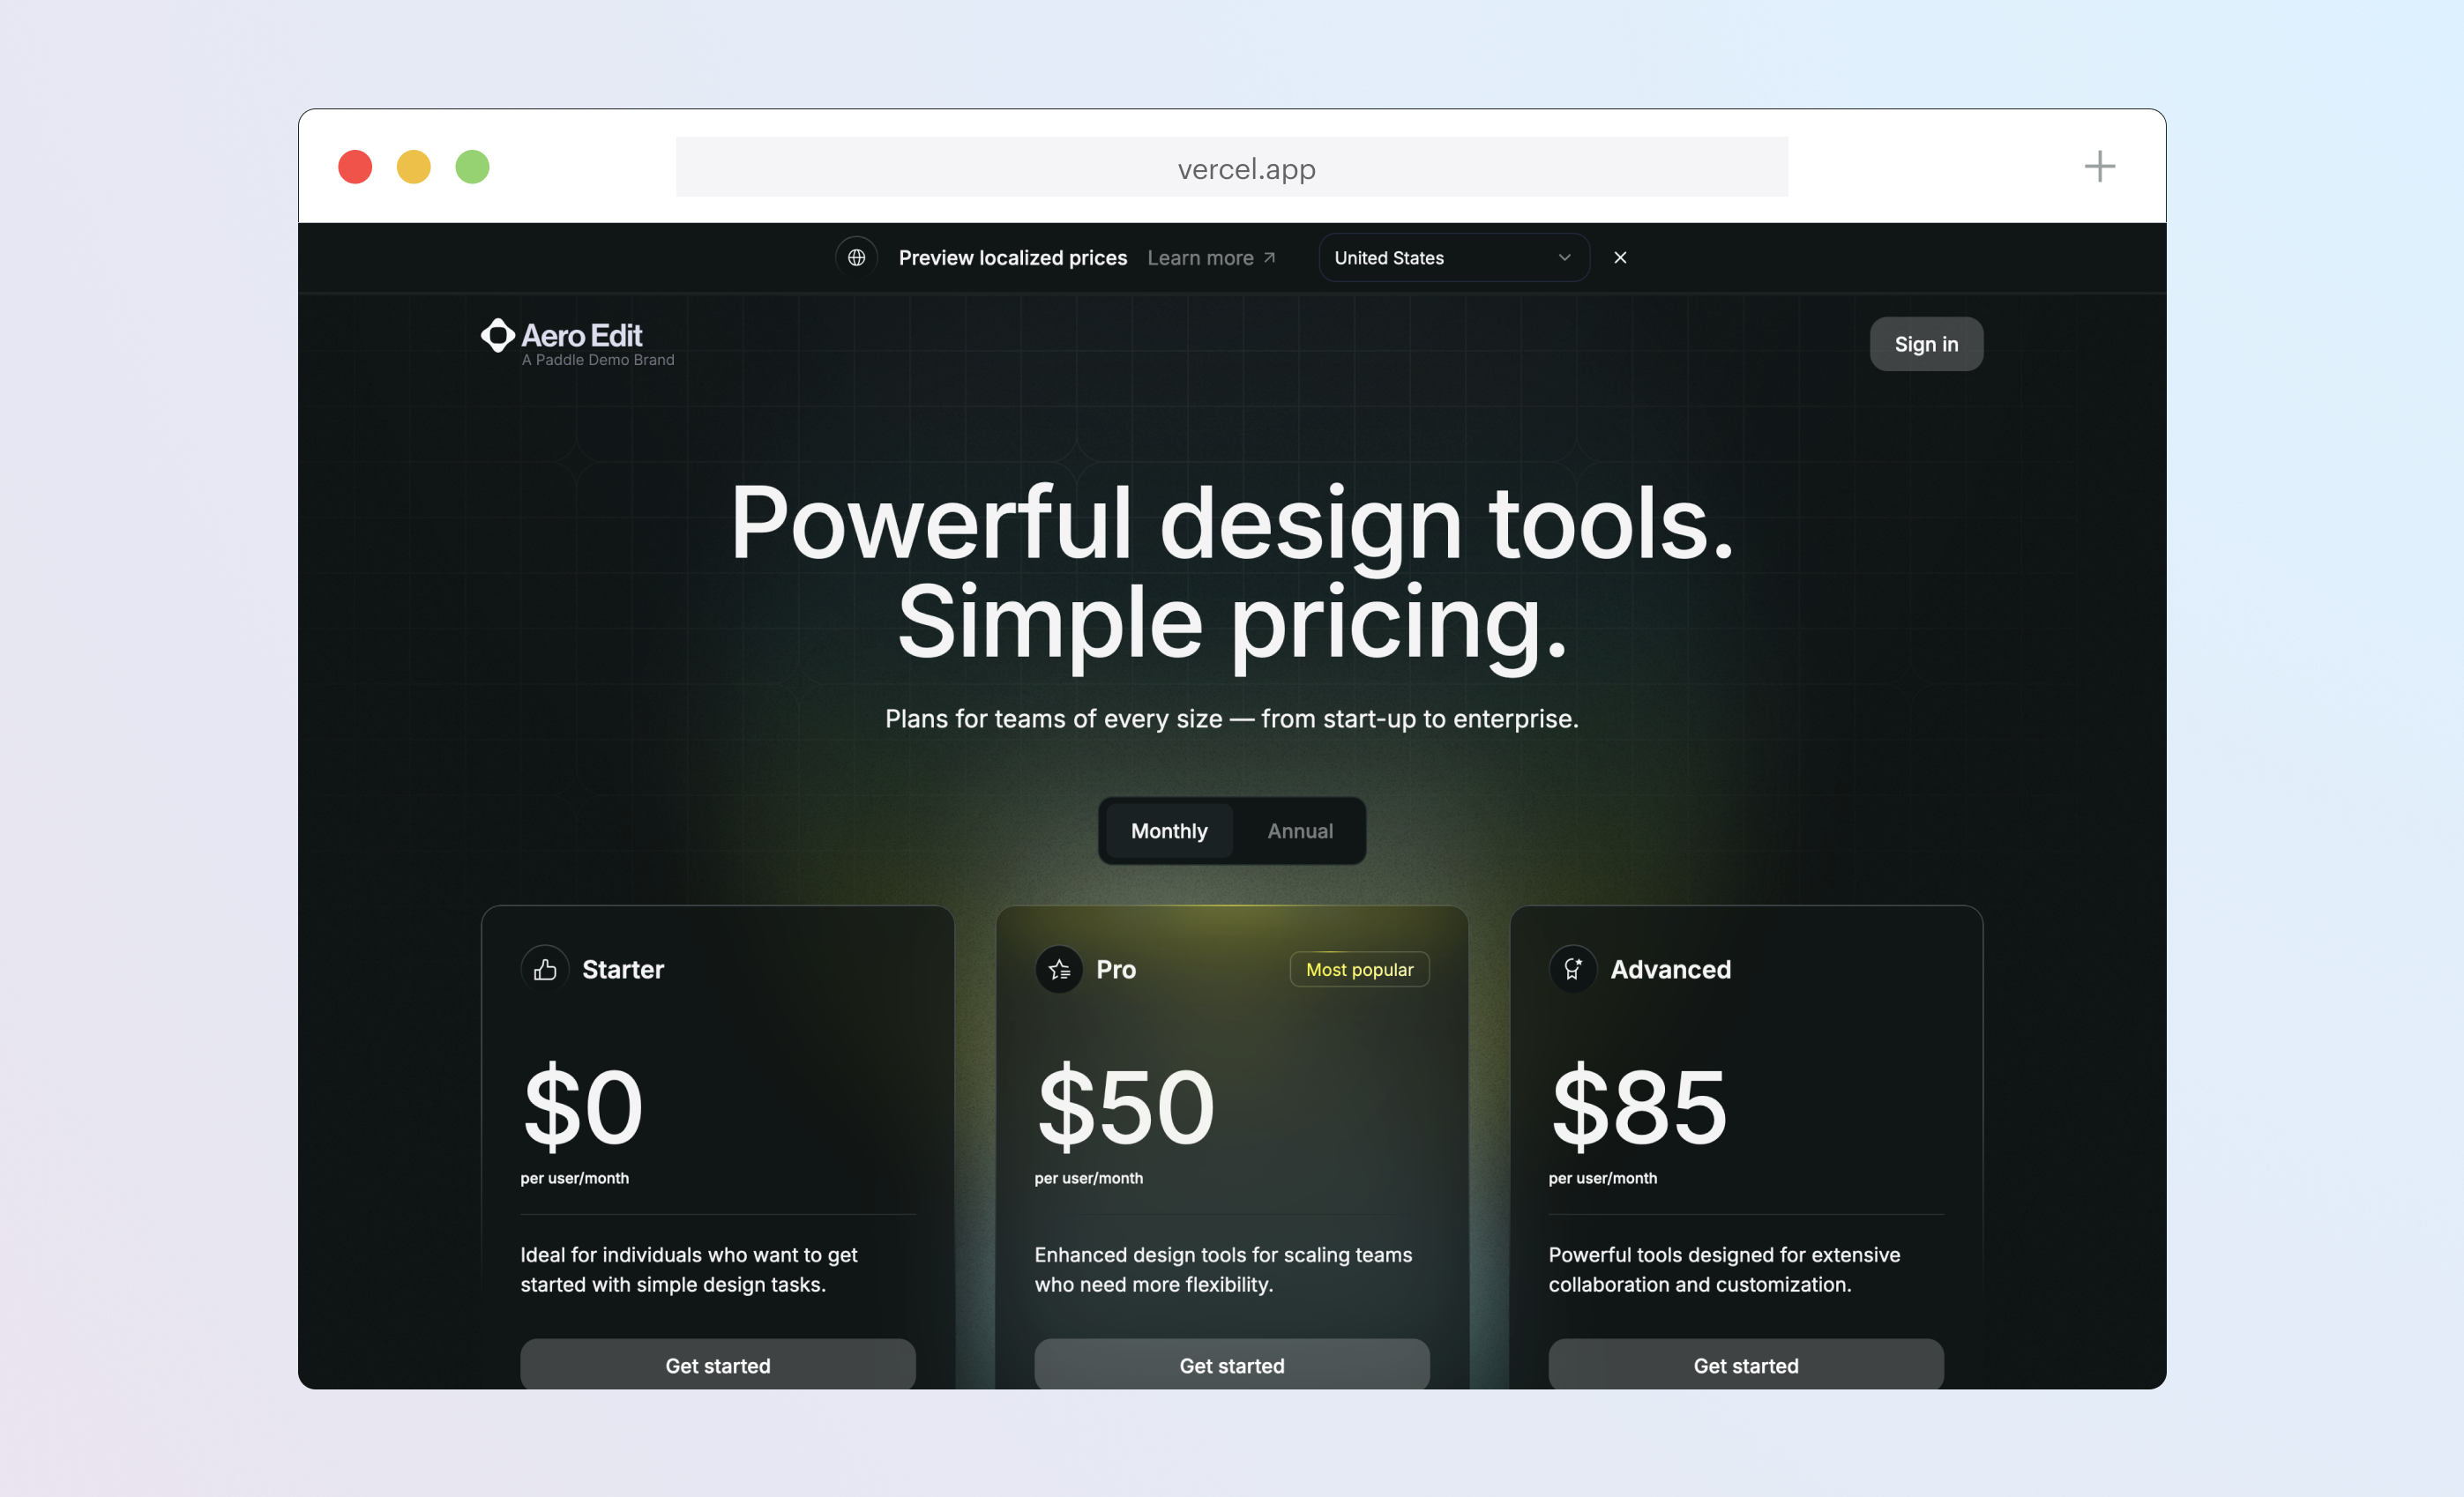
The template's three-tier pricing page has Free, Basic, and Pro, each with monthly and annual options. Mirror this in Paddle as three products with two prices each.
Create products and prices
You can create products and prices using the Paddle dashboard or the API.
- Go to Paddle > Catalog > Products.
- Click New product .
- Enter details, then Save .
- Under Prices, click New price .
- Enter details. Set billing period to Monthly for a monthly price.
- Click Save .
- Repeat for an Annually price.

Repeat for each product until you have three products with two prices each.
Update pricing constants
Update the app with your new price IDs. Clone your Git repo locally and open src/constants/pricing-tier.ts — or edit directly on your Git platform.
pricing-tier.ts contains constants used in the pricing page and checkout. Swap each pri_ ID with one of your new price IDs:
export interface Tier {  name: string;  id: 'starter' | 'pro' | 'advanced';  icon: string;  description: string;  features: string[];  featured: boolean;  priceId: Record<string, string>;}
export const PricingTier: Tier[] = [ { name: 'Starter', id: 'starter', icon: '/assets/icons/price-tiers/free-icon.svg', description: 'Ideal for individuals who want to get started with simple design tasks.', features: ['1 workspace', 'Limited collaboration', 'Export to PNG and SVG'], featured: false, priceId: { month: 'pri_01hsxyh9txq4rzbrhbyngkhy46', year: 'pri_01hsxyh9txq4rzbrhbyngkhy46' }, }, { name: 'Pro', id: 'pro', icon: '/assets/icons/price-tiers/basic-icon.svg', description: 'Enhanced design tools for scaling teams who need more flexibility.', features: ['Integrations', 'Unlimited workspaces', 'Advanced editing tools', 'Everything in Starter'], featured: true, priceId: { month: 'pri_01hsxycme6m95sejkz7sbz5e9g', year: 'pri_01hsxyeb2bmrg618bzwcwvdd6q' }, }, { name: 'Advanced', id: 'advanced', icon: '/assets/icons/price-tiers/pro-icon.svg', description: 'Powerful tools designed for extensive collaboration and customization.', features: [ 'Single sign on (SSO)', 'Advanced version control', 'Assets library', 'Guest accounts', 'Everything in Pro', ], featured: false, priceId: { month: 'pri_01hsxyff091kyc9rjzx7zm6yqh', year: 'pri_01hsxyfysbzf90tkh2wqbfxwa5' }, },];To get a price ID:
- Go to Paddle > Catalog > Products and click a product.
- Click next to a price, then Copy price ID .
- Paste the ID as
priceId.monthorpriceId.year.
Add all your price IDs, then commit and push to main. Vercel rebuilds automatically.
When the build's done, your pricing page should display prices — but you can't checkout yet. That's the next step.
Add your website to Paddle and test
To keep the Paddle platform safe, you must add your website to Paddle before launching a checkout from it. This protects you as a seller — only you can sell your products.
Get your website approved
For sandbox accounts, website approval is instant. You still need to add your domain.
Website approval makes sure you own the domains where you use Paddle Checkout and that your products meet Paddle's acceptable use policy.
- Go to Paddle > Checkout > Website approval.
- Click Add a new domain , enter your Vercel demo app URL, then Submit for Approval .
- Wait for approval.
For sandbox, you'll see a green "Approved" status immediately. Live accounts may take a few days while the Paddle verification team reviews your site.
See website verification on the Paddle help center
Set your default payment link
Your default payment link opens Paddle Checkout for a transaction. It's also used in emails from Paddle that let customers manage their subscription.
- Go to Paddle > Checkout > Checkout settings.
- Enter your Vercel deploy URL under Default payment link.
- Click Save .

See set your default payment link.
Check your notification destination endpoint
If your project name was taken, Vercel appended characters to your deploy URL. If that URL doesn't match https://<PROJECTNAME>.vercel.app, update the notification destination URL in Paddle. You can find your deploy URL in the Vercel dashboard.
Test
Open your Vercel demo site. Prices should now render on the pricing page.
Click Get started to launch a checkout. Use test card details for sandbox:
- Email address
-
An email address you own
- Country
-
Any valid country supported by Paddle
- ZIP code (if required)
-
Any valid ZIP or postal code
- Card number
-
4242 4242 4242 4242 - Name on card
-
Any name
- Expiration date
-
Any valid date in the future.
- Security code
-
100
After checkout, click Sign in. The subscriptions and payments pages pull information from Paddle about the customer's subscriptions and transactions.
Troubleshoot
If prices don't appear, the checkout doesn't load, or you see "Something went wrong," open your browser console for specific error messages from Paddle.js. On macOS Chrome, ⌘ + ⌥ + J opens it.
Check that:
- You pushed all changes to
mainand Vercel deployed successfully. - Products and prices are created correctly. Prices should be recurring so Paddle creates a subscription when checkout completes.
- Your
pri_IDs are correct. Sandbox and live IDs don't cross environments. - Your default payment link matches the domain you're testing on.
- Your notification destination URL is
https://<YOUR-VERCEL-URL>/api/webhook. NEXT_PUBLIC_PADDLE_CLIENT_TOKENis a valid token (starts withtest_for sandbox,live_for live).NEXT_PUBLIC_PADDLE_ENVissandboxorproductionto match your account.PADDLE_API_KEYis valid.- Supabase tables were created successfully.
Use the Vercel or Supabase docs for platform-specific issues.
Build your app, then go live
You're done. Use this starter kit as a basis for building a SaaS app on Paddle Billing. When you're ready to take real payments:
- Sign up for a live account, then follow the go-live checklist.
- Update Vercel environment variables for your live account.
- Create new schemas in Supabase for live data.
- Set up Paddle Retain to recover failed payments.
Next steps
That's it. Now you've built a Next.js app with Paddle Billing and deployed it to Vercel, you might like to hook into other features of the Paddle platform.
Do more with Paddle.js
Our starter kit passes prices to Paddle.js to display localized pricing on our pricing page and open a checkout to create subscriptions. Paddle.js includes a bunch of properties and settings you can pass that give you more control over how opened checkouts work.
For example, you can prepopulate a discount, set the language that Paddle Checkout uses, or restrict payment options shown to customers.
See how to pass customer and order information into Paddle.js to prefill checkout forms.
Control checkout behavior by passing additional settings to Paddle.js.
Customize the look and feel of your inline checkout to match your brand.
Build advanced subscription functionality
Paddle Billing supports flexible subscription workflows: pause and resume, change billing dates, offer trials, and more.
Let customers temporarily suspend or reactivate their subscriptions with your app.
Give customers the flexibility to adjust their billing dates to suit their needs.
Learn how to offer and manage free and paid trials to attract more signups.
Integrate with Paddle Retain
Paddle Retain combines subscription expertise with algorithms trained on billions of datapoints to recover failed payments, reduce churn, and proactively upgrade plans.
Set up rules and automations to recover failed payments and handle dunning intelligently.
Capture feedback at cancel and use flows to reduce churn in your SaaS.
Let Retain automatically upgrade customers when optimal for their billing cycle.