This tutorial walks through deploying the Paddle Web Monetization Kit to Vercel, setting up a product catalog, adding a checkout button to an iOS app, and handling fulfillment using either RevenueCat or webhooks. By the end, you'll have a complete external purchase flow for your iOS app.
For a quick overview of what's in the kit before you dive in, see the Web Monetization Kit reference.

What's not covered
- Authentication — we assume you already identify users via Firebase, Sign in with Apple, or similar.
- Native in-app purchases — Paddle Checkout opens in Safari and redirects users back to your app. Like the App Store, it supports Apple Pay and other popular payment methods.
- Subscription lifecycle management — pause, resume, cancel, update payment method. Use the prebuilt customer portal. Covered separately.
Before you begin
Sign up for Paddle
You can sign up for two kinds of account:
- Sandbox — for testing and evaluation.
- Live — for selling to customers.
We recommend a sandbox account for this tutorial. Sign up at sandbox-login.paddle.com/signup.
Live accounts require account verification before you can launch a checkout or sell on the Paddle platform.
Sign up for Vercel and a Git provider
We deploy to Vercel, a serverless platform designed for Next.js. Sign up free if you don't already have an account.
You'll also need a Git provider. Vercel's deploy flow walks you through setting up GitHub (recommended), GitLab, or Bitbucket.
Prep your iOS development environment
Later, we add a button to your iOS app that opens the deployed checkout. You'll need:
- Knowledge of iOS development, access to your project, and Xcode on macOS.
- A URL scheme configured so Paddle Checkout can redirect users back to your app.
You don't need this to deploy the web checkout — come back to the iOS work later if a separate developer handles your iOS app.
Overview
Create and deploy a website checkout for your iOS app in six steps:
- Start deploy to Vercel
Clone the repo, configure environment variables, and deploy. - Set up your product catalog
Create products and prices in Paddle, then update the app. - Add your website
Add the deploy URL to Paddle and get it approved. - Add a checkout button to your app
Open the checkout from your iOS app. - Handle fulfillment and provisioning
Use RevenueCat or process webhooks to fulfill purchases after a customer completes a checkout. - Take a test payment
Make a test purchase to make sure your purchase flow works correctly.
Start deploy to Vercel
To create a Vercel project ready for us to set up, click the button to get started:
Start one-click deploy to Vercel
Create Git repo
First, clone the starter kit repo. This creates a copy in your Git provider account so you can build on top of the project.
Click Continue with GitHub, Continue with GitLab, or Continue with Bitbucket to connect your Git provider, then enter a name for your repo.
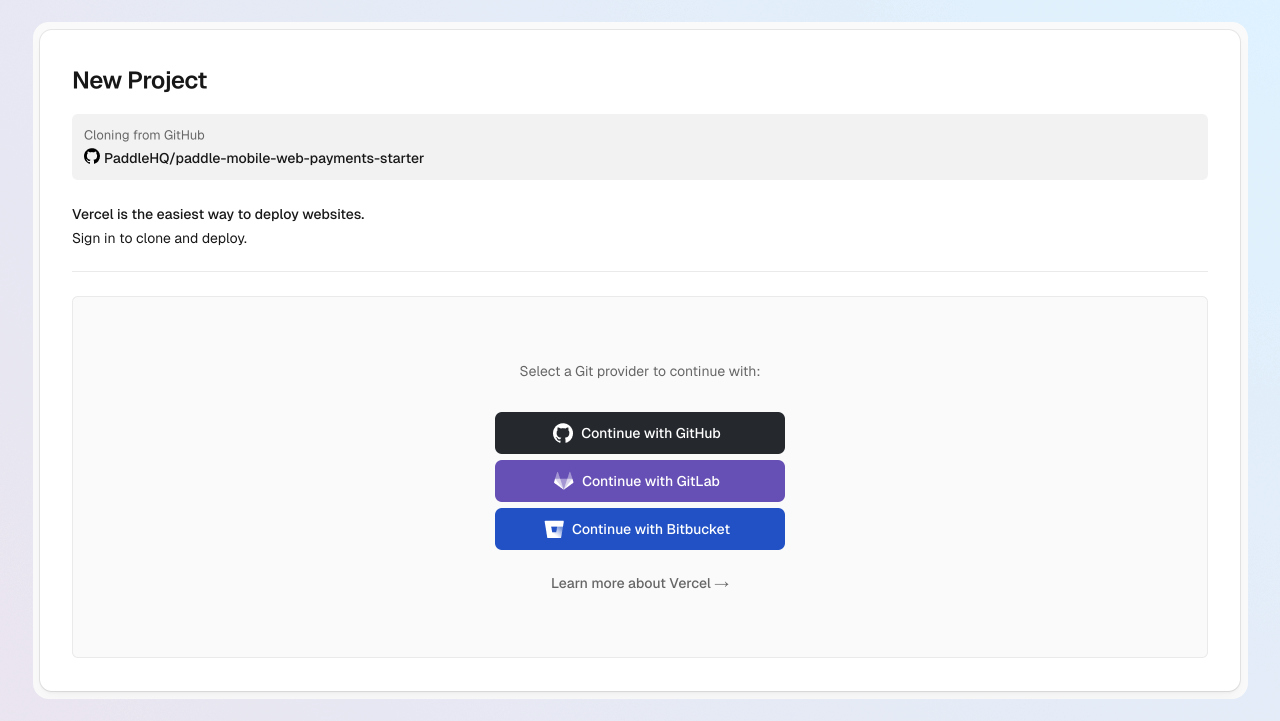
The repo name becomes the Vercel project name and is used for deploy preview URLs. If the name is taken, Vercel appends characters to your project name.
Configure environment variables
Five variables need to be set:
| Variable | Description |
|---|---|
APPLE_TEAM_ID | Your Apple Developer team ID, required for universal links so you can link back to your app. |
NEXT_PUBLIC_BUNDLE_IDENTIFIER | Your iOS app's bundle ID, for example com.example.myapp. |
NEXT_PUBLIC_APP_REDIRECT_URL | Custom URL scheme that bounces users back to your app when their purchase completes, for example myapp://example-redirect. |
NEXT_PUBLIC_PADDLE_CLIENT_TOKEN | Client-side token for securely opening Paddle Checkout. |
NEXT_PUBLIC_PADDLE_ENV | sandbox for sandbox accounts; production for live accounts. |
Get Apple team ID and bundle ID
- Team ID: Sign in to your Apple Developer account and find your team ID.
- Bundle identifier: Open your app in Xcode and check the target summary pane.
Paste each value as APPLE_TEAM_ID and NEXT_PUBLIC_BUNDLE_IDENTIFIER on the Vercel deploy screen.
Get a client-side token
Client-side tokens authenticate Paddle.js in your frontend.
- Go to Paddle > Developer tools > Authentication.
- Click the Client-side tokens tab, then New client-side token .
- Give it a name and description, then Save .
- Click next to the token, then Copy token .
- Paste it as
NEXT_PUBLIC_PADDLE_CLIENT_TOKEN.

Set your environment
For NEXT_PUBLIC_PADDLE_ENV:
sandboxfor a sandbox account.productionfor a live account.
We recommend sandbox for this tutorial. Live accounts must be approved by Paddle before you can open checkouts.
Review and deploy
Review your settings, then click Deploy. Wait for Vercel to build.
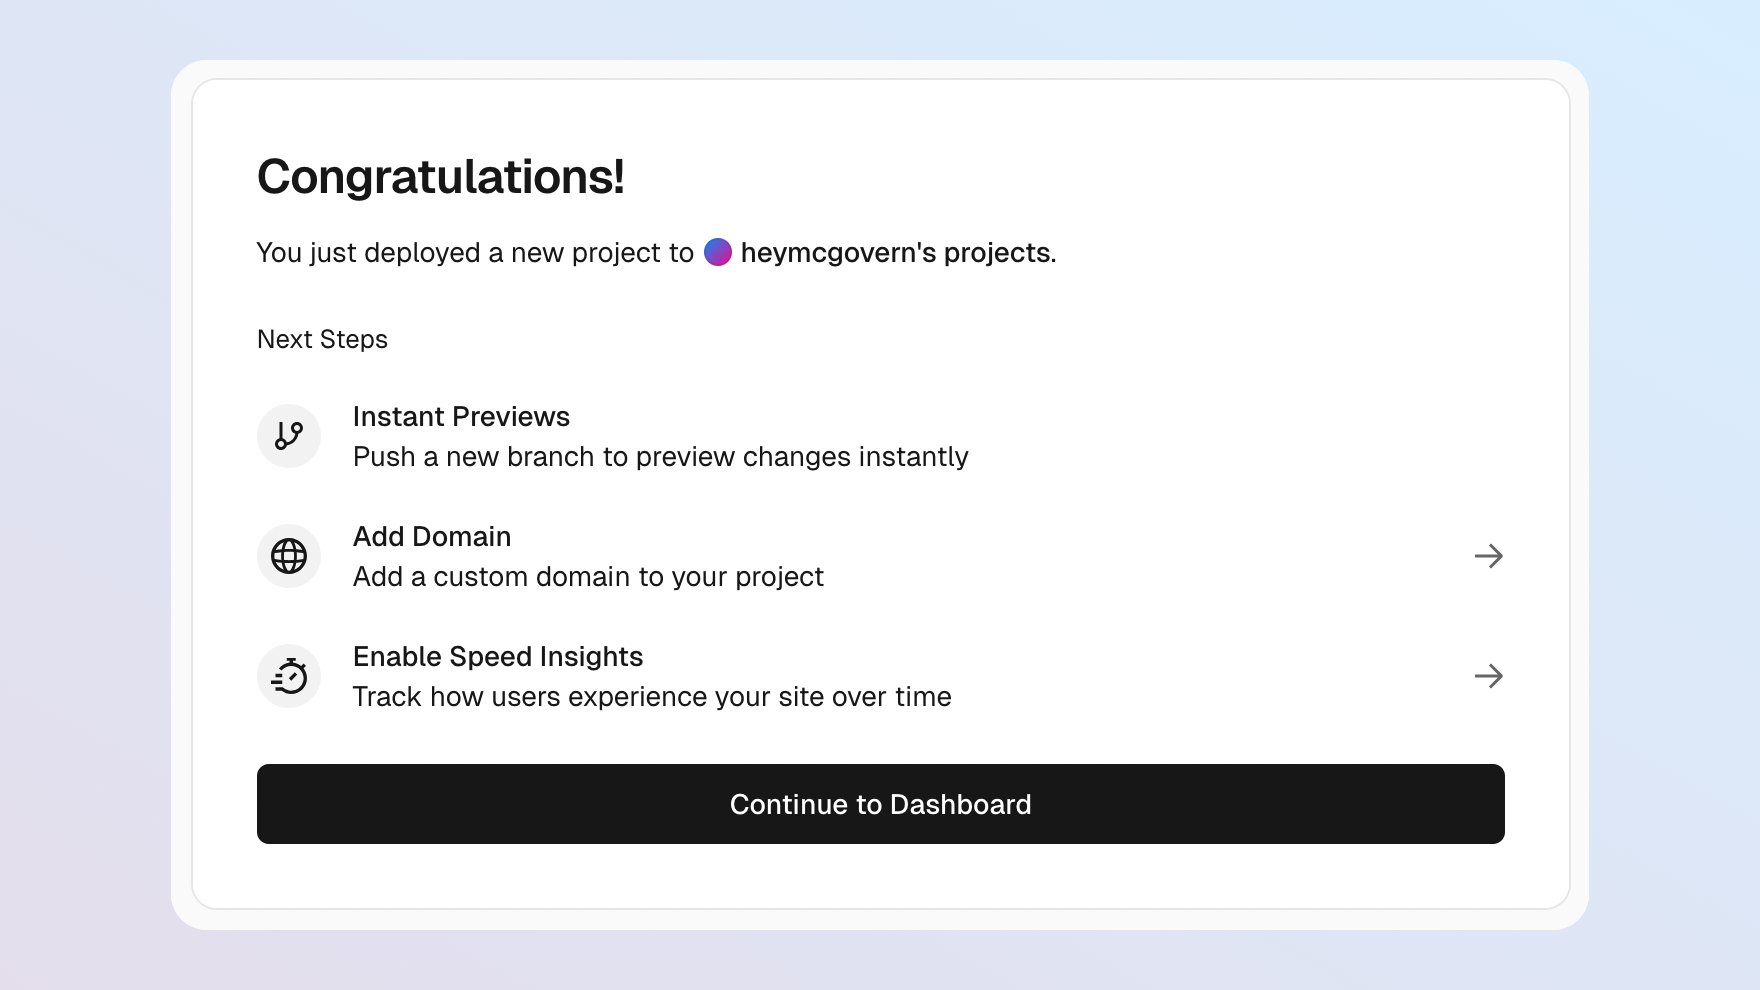
The deploy URL works and the marketing site renders. The pricing page and checkout flow won't work until the next step.
Set up your product catalog
Set up products and prices in Paddle to match the in-app items you want to sell.
Model your pricing
A complete product in Paddle has:
- A product entity describing the item — name, description, image.
- At least one related price entity describing how much and how often it's billed.
For this example, we create a product called Acme Guard with monthly and annual prices.

Create products and prices
You can create products and prices using the Paddle dashboard or the API.
- Go to Paddle > Catalog > Products.
- Click New product .
- Enter details, then Save .
- Under Prices, click New price .
- Set the billing period to Monthly, then Save .
- Repeat for an Annually price.
- Click next to each price, then Copy ID .

Update prices in your app
Clone your Git repo locally, then open src/components/pricing/plan-select.tsx in your IDE — or edit directly on your Git platform.
plan-select.tsx contains a plans array used in the pricing page. Swap each pri_ ID with one of yours. The tag is optional, useful for showing a discount label like Save 17%:
export const plans = [ { priceId: "pri_01jx2rx1t30hxejpb5v0vav4nv", // Monthly price }, { priceId: "pri_01h1vjg3sqjj1y9tvazkdqe5vt", // Annual price tag: "Save 17%", }];Commit and push to main. Vercel rebuilds automatically.

When the build completes, your pricing page displays the new prices. Checkout still doesn't work — that's the next step.
Add your website to Paddle
Before you can launch a checkout, add your Vercel deploy URL to Paddle.
Get your website approved
Sandbox accounts get instant approval — you still need to add the domain.
- Go to Paddle > Checkout > Website approval.
- Click Add a new domain, enter your Vercel deploy URL, then Submit for Approval.
- Wait for approval (instant on sandbox; a few days on live).
See website verification on the Paddle help center
Set your default payment link
Your default payment link is used to open Paddle Checkout for transactions and in emails that let customers manage purchases.
- Go to Paddle > Checkout > Checkout settings.
- Enter your Vercel deploy URL under Default payment link.
- Click Save .

Add a checkout button to your app
Add a button to your iOS app that:
- Checks whether in-app purchases are allowed on the device.
- Constructs a URL using your Vercel deploy URL with a
price_idquery parameter. - Opens the URL in Safari.
import SwiftUIimport StoreKit // required for checking device payment capabilities using SKPaymentQueue
struct PurchaseView: View {    let checkoutBaseURL = "https://paddle-mobile-web-payments-starter.vercel.app" // replace with your checkout URL    let priceId = "pri_01h1vjg3sqjj1y9tvazkdqe5vt" // replace with a price ID or set dynamically
    var body: some View {        VStack {            if SKPaymentQueue.canMakePayments() {                Button("Buy now") {                    openCheckout()                }                .padding()                .background(Color.blue)                .foregroundColor(.white)                .cornerRadius(10)            } else {                Text("Purchases not available on this device.")                    .foregroundColor(.secondary)            }        }        .padding()    }
func openCheckout() { let checkoutURL = "\(checkoutBaseURL)?price_id=\(priceId)" if let url = URL(string: checkoutURL) { UIApplication.shared.open(url) } }}The price_id is hardcoded above. In a real app, set it dynamically based on the plan the user selects.
Prefill information Recommended
Pass URL query parameters to prefill checkout fields and provide a smoother user experience. For example, pass the customer email and a unique identifier for use with RevenueCat:
import SwiftUIimport StoreKit
struct PurchaseView: View {    let checkoutBaseURL = "https://paddle-mobile-web-payments-starter.vercel.app"    let priceId = "pri_01h1vjg3sqjj1y9tvazkdqe5vt"
    // From your auth platform / RevenueCat    let appUserId = "85886aac-eef6-41df-8133-743cbb1daa4b"    let userEmail = "sam@example.com"    let countryCode = "US"    let postalCode = "10021"
    var body: some View {        VStack {            if SKPaymentQueue.canMakePayments() {                Button("Buy now") {                    openCheckout()                }                .padding()                .background(Color.blue)                .foregroundColor(.white)                .cornerRadius(10)            } else {                Text("Purchases not available")                    .foregroundColor(.secondary)            }        }        .padding()    }
    func openCheckout() {        var urlComponents = URLComponents(string: checkoutBaseURL)!
        urlComponents.queryItems = [            URLQueryItem(name: "price_id", value: priceId),            URLQueryItem(name: "app_user_id", value: appUserId),            URLQueryItem(name: "user_email", value: userEmail),            URLQueryItem(name: "country_code", value: countryCode),            URLQueryItem(name: "postal_code", value: postalCode)        ]
if let url = urlComponents.url { UIApplication.shared.open(url) } }}For the full list of supported parameters, see hosted checkout URL parameters.
Handle fulfillment and provisioning
After a customer completes a purchase, Paddle redirects them back to your app. Now you need to unlock the features they bought. Two options:
If you use the RevenueCat x Paddle integration for entitlements, you're set:
- Paddle sends data to RevenueCat about the completed checkout.
- RevenueCat grants the user an entitlement based on your product configuration.
- Use the RevenueCat SDK to check entitlement status in your iOS app.
If you'd rather build your own fulfillment, use webhooks. The example below grants users access when they purchase the Acme Guard product.
Build a webhook handler
This Node.js example uses Express. Adapt to your framework — see the webhook signature verification guide for examples in other languages.
app.post("/paddle/webhooks", express.raw({ type: 'application/json' }), async (req, res) => {  try {    // Verify the webhook signature first — see /webhooks/verify-signatures    const payload = JSON.parse(req.body.toString());    const { data, event_type } = payload;    const occurredAt = payload.occurred_at;
    switch (event_type) {      case 'transaction.created': {        const userForTransaction = await User.findOne({ where: { paddleCustomerId: data.customer_id } });        if (userForTransaction) {          await Transaction.create({            transactionId: data.id,            userId: userForTransaction.id,            subscriptionId: data.subscription_id,            status: data.status,            amount: data.amount,            currencyCode: data.currency_code,            occurredAt,          });        }        break;      }
      case 'transaction.completed': {        const completedTransaction = await Transaction.findOne({ where: { transactionId: data.id } });        if (completedTransaction) {          await completedTransaction.update({            status: data.status,            subscriptionId: data.subscription_id,            invoiceId: data.invoice_id,            invoiceNumber: data.invoice_number,            billedAt: data.billed_at,            updatedAt: data.updated_at,          });        }        break;      }    }
res.json({ received: true }); } catch (error) { console.error('Error processing webhook:', error); return res.status(500).json({ error: error.message }); }});Unlock user access
When you receive transaction.completed, update the user's access permissions. The example below maps Paddle product IDs to permission keys; your iOS app reads the permission to unlock features.
case 'transaction.completed': {  const completedTransaction = await Transaction.findOne({ where: { transactionId: data.id } });
  if (completedTransaction) {    await completedTransaction.update({      status: data.status,      subscriptionId: data.subscription_id,      invoiceId: data.invoice_id,      invoiceNumber: data.invoice_number,      billedAt: data.billed_at,      updatedAt: data.updated_at,    });
    const user = await User.findOne({ where: { id: completedTransaction.userId } });    if (!user) break;
    const purchasedItems = data.items || [];    const accessPermissions = user.accessPermissions      ? JSON.parse(user.accessPermissions)      : {};
    // Map product IDs to permission keys.    const productToPermission = {      'pro_01j4z97mq9pa4fkyy0wqenepkz': 'acmeGuardAccess',      'pro_01j4vjes1y163xfj1rh1tkfb65': 'acmeHotspotAccess',    };
    purchasedItems.forEach(({ price }) => {      const permissionKey = productToPermission[price.product_id];      if (permissionKey) accessPermissions[permissionKey] = true;    });
await user.update({ accessPermissions: JSON.stringify(accessPermissions), }); } break;}Create a notification destination
Tell Paddle where to deliver webhooks:
- Go to Paddle > Developer tools > Notifications.
- Click New destination.
- Give it a name.
- Keep notification type as webhook (the default).
- Enter your webhook handler URL, then check transaction.completed.
- Click Save destination.

See create a notification destination for more.
Test the complete flow


Run through the purchase flow end-to-end. Use test card details for sandbox:
| Field | Value |
|---|---|
| Email address | An email address you own |
| Country | Any valid country supported by Paddle |
| ZIP code (if required) | Any valid ZIP or postal code |
| Card number | 4242 4242 4242 4242 |
| Name on card | Any name |
| Expiration date | Any valid date in the future |
| Security code | 100 |
Before going live, verify your domain for Apple Pay so you can launch the Apple Pay modal directly from your checkout.
Next steps
That's it. Now you've built a website checkout for your iOS app, you might like to hook into other features of the Paddle platform.
Customize the checkout
Our tutorial set up an inline checkout where customers purchase your iOS products. When a customer interacts with the checkout, Paddle.js sends events that are used to show and update the order summary that customers see.
While the checkout flow is already set up to function with all Paddle prices and currencies out-of-the-box, you might like to customize its appearance and change its behavior.
Customize the inline checkout form
Paddle.js initializes and opens the checkout in src/hooks/use-paddle.tsx. Edit the checkout.settings parameter on either method to customize appearance or remove fields. See Paddle.Initialize() for the full list of settings.
Customize the order summary
product-details.tsx and order-summary.tsx in src/components/checkout hold the order summary above the inline checkout. Use the checkoutData object to access Paddle.js event fields.
Pass a discount
Extend your pricing page and checkout flow by passing a discount to reduce the amount a customer pays.
- For your pricing page, add
discountIdin your request toPaddle.PricePreview(). The response includes a discount array that has information about the discount applied. Calculated totals indetails.lineItemsinclude discounts, where applicable. - For the checkout flow, add
discount_idas a query parameter in the URL you use to open Paddle Checkout within your iOS app. The product summary shows the discount automatically, usingtotals.discountfrom the checkout event.
Learn more about Paddle
When you use Paddle, we take care of payments, tax, subscriptions, and metrics with one unified platform. Customers can self-serve with the portal, and Paddle handles any order inquiries for you.
Accept global payment methods out of the box, including credit/debit cards, Apple Pay, and more.
Get revenue metrics, customer analytics, and detailed sales reports in your dashboard.
Allow customers to manage invoices, subscriptions, and account details without your intervention.